You have 0 items in your cart



Quick Answer
With the existing water still in the spa, use a compatible plumbing cleanser exactly as its label directs. Then disconnect power, drain the spa, clean the filter and empty shell, close the drain, refill as your owner’s manual recommends, restore circulation, and test and balance the fresh water before adding the correct sanitizer for your system. Never power an empty hot tub.
Your Refill Companion
These choices personalize the notes and product pathway throughout the guide. They do not calculate chemical doses—your current test results, spa volume and product labels determine those.
Your Starting Plan
Bring a photo of the products you currently use—or a water sample—to Custom LeisureScapes if you are unsure whether the spa follows a chlorine, bromine or specialty program.
Before You Start
A calm water change is mostly preparation. Locate the drain, check the forecast, read the manual and labels, and place your supplies where they will remain dry and easy to reach.
Start-to-Finish Process
Check off each stage as you go. Your progress is saved in this browser so the guide can stay open while you work.
0 of 8
1
Prepare the existing water
Internal pipes can hold residue that an empty-shell wipe cannot reach. With the spa still filled and operating normally, use one compatible plumbing cleanser according to its own directions. Required quantities and circulation time differ by product, so the label—not a generic online dose—controls this step.

2
Protect the equipment
Once the cleanser has completed its labelled circulation period, switch the hot tub off at the correct disconnect or breaker. Confirm that the control panel and pumps cannot start. Only then connect the approved drain hose or place the suitable utility pump.

3
Drain completely
Open the approved gravity drain or operate the utility pump according to its directions. As the level drops, use a clean container, wet vacuum or other method approved by the spa manufacturer to remove water left in seats and footwells. Do not open equipment unions or work inside the cabinet unless the manufacturer specifically directs it and you are qualified to do so.
Your method: Confirm the built-in drain location in the owner’s manual before attaching the hose.

4
Restore filtration
Remove the cartridge as the manual directs. Rinse loose debris from between the pleats, then use one compatible spa-filter cleaner for the labelled contact or soaking time. Rinse thoroughly before reinstalling. A damaged, brittle or permanently discoloured cartridge may need replacement rather than another cleaning.

5
Clean the empty shell
Use a cleaner approved for hot-tub surfaces and a soft, non-abrasive cloth. Work from the top edge down so residue can be collected from the footwell. Pay attention to the waterline, seat contours and areas around—not inside—jet openings. Remove all cleaner residue before refilling.
View Spa Tub Clean for approved surface care →

6
Refill without creating problems
Confirm the drain is fully closed and the cleaned filter is reinstalled correctly. Many hot-tub manuals direct owners to place the hose into the filter compartment or designated fill point to reduce the chance of trapped air, but this is model-specific. Follow the fill location and minimum water line stated for your spa.

7
Restore circulation
When the spa has reached its specified fill line, restore power and follow the manufacturer’s start-up or priming procedure. Confirm that water is moving normally before relying on the heater. Never repeatedly run a pump that is humming, surging or failing to move water.

8
Balance the fresh fill
Fresh-looking water is not automatically ready for bathing. Test the source water after circulation begins. Follow your spa and product directions for balancing order—commonly total alkalinity, then pH, then calcium hardness as required—before establishing the sanitizer level for the existing system. Add products separately, allow circulation between additions and retest instead of guessing.

Before & After
The goal is not simply bluer-looking water. The real improvement is a clean vessel, restored circulation and chemistry confirmed by testing.
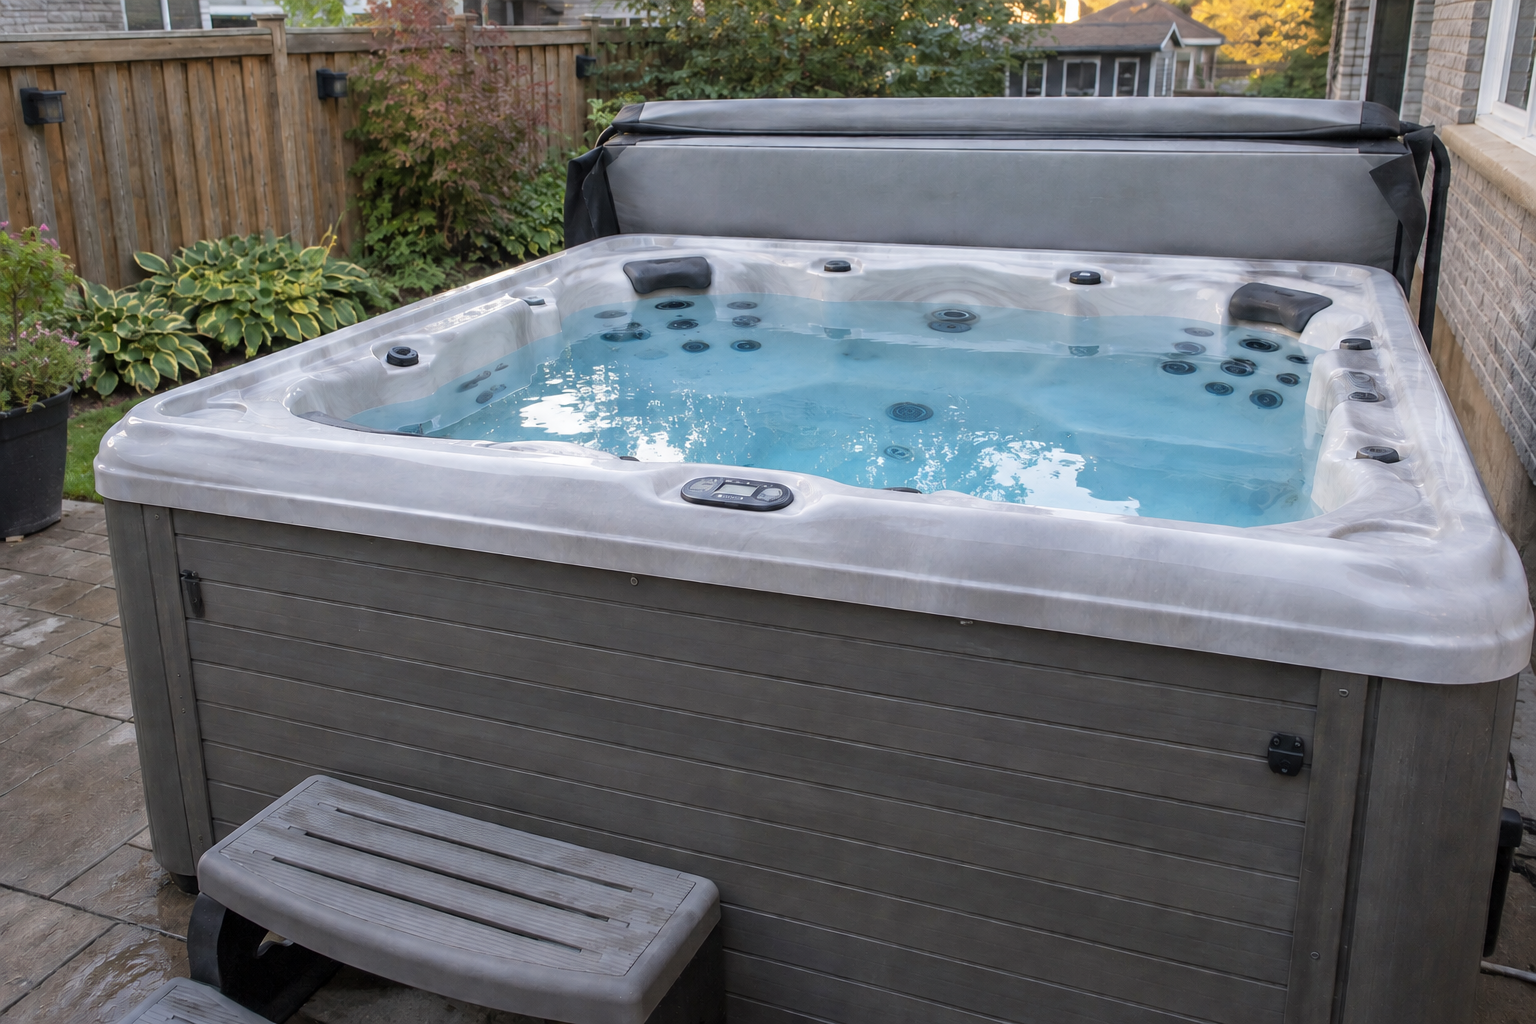
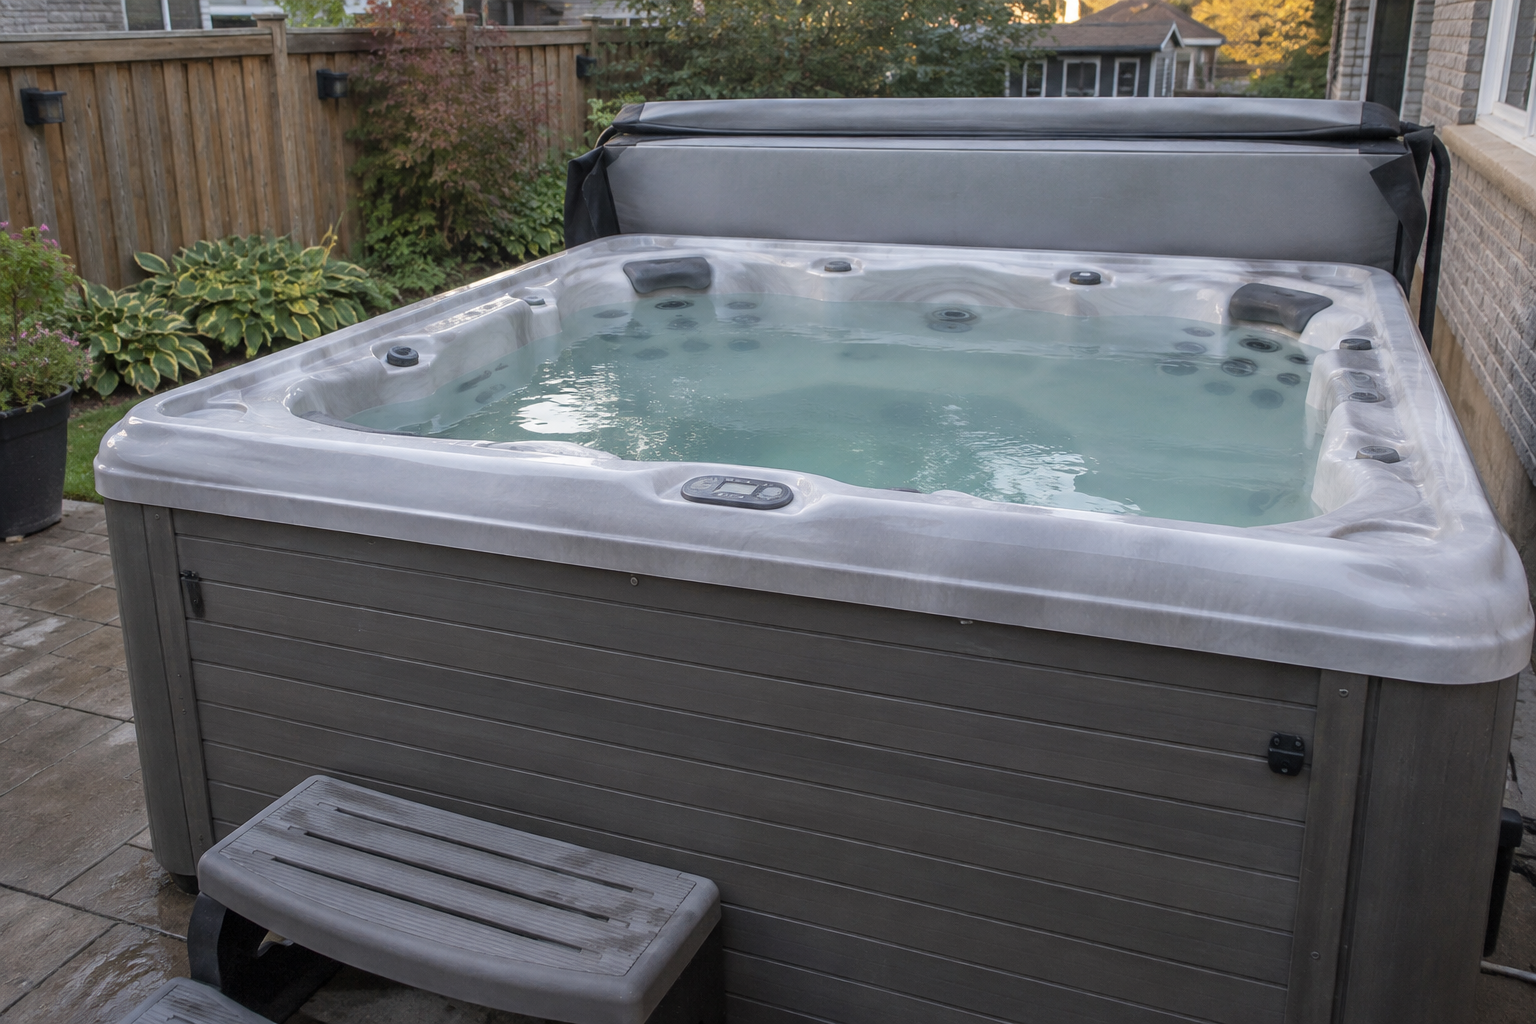
Drag anywhere across the photo, or use the three buttons above.
Shop by Job—Not by Guesswork
You need one compatible product for a job—not every bottle shown. The cards marked “your pathway” update from the sanitizer selection near the top. Test results determine whether balancing products are actually required.
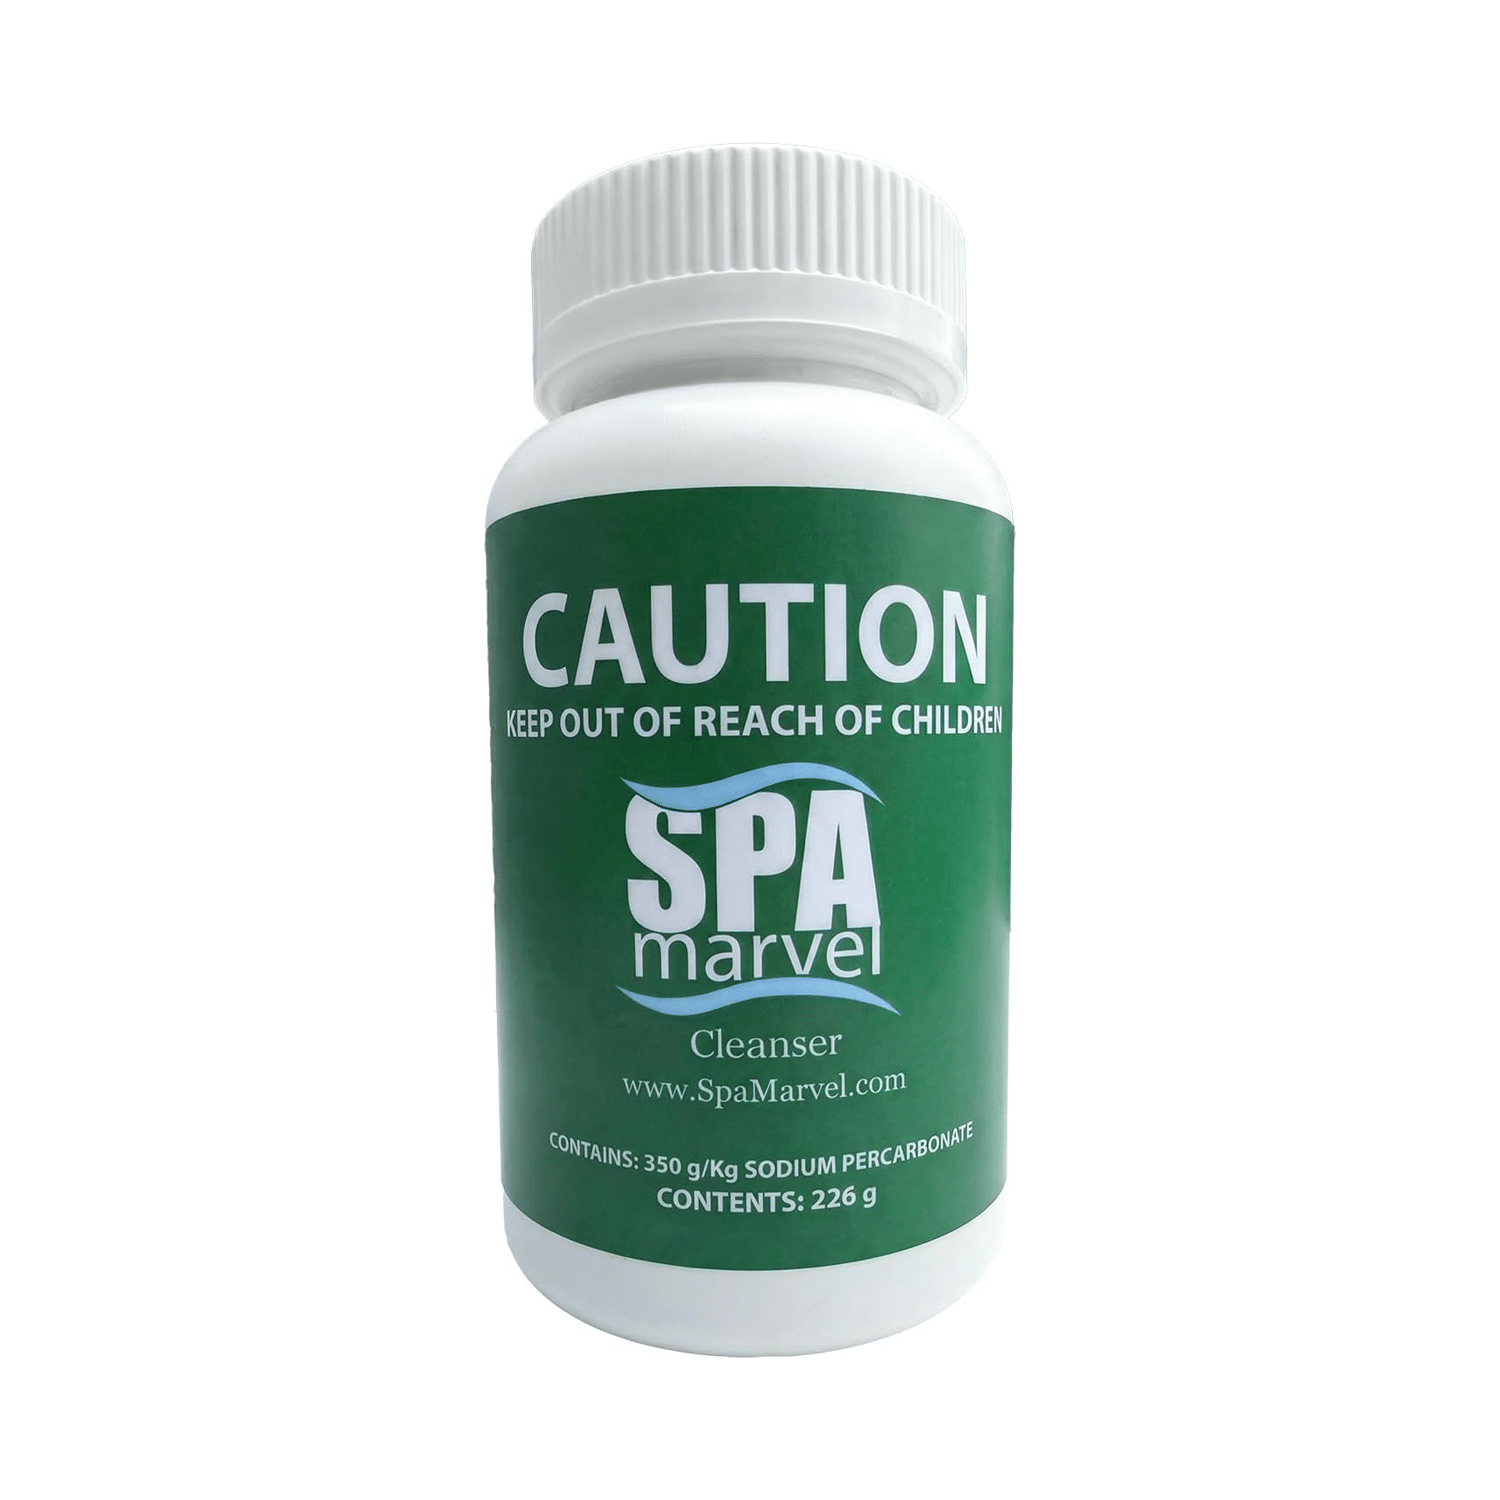
A plumbing-purge option used before the old water leaves. Choose this or another compatible purge—not both.
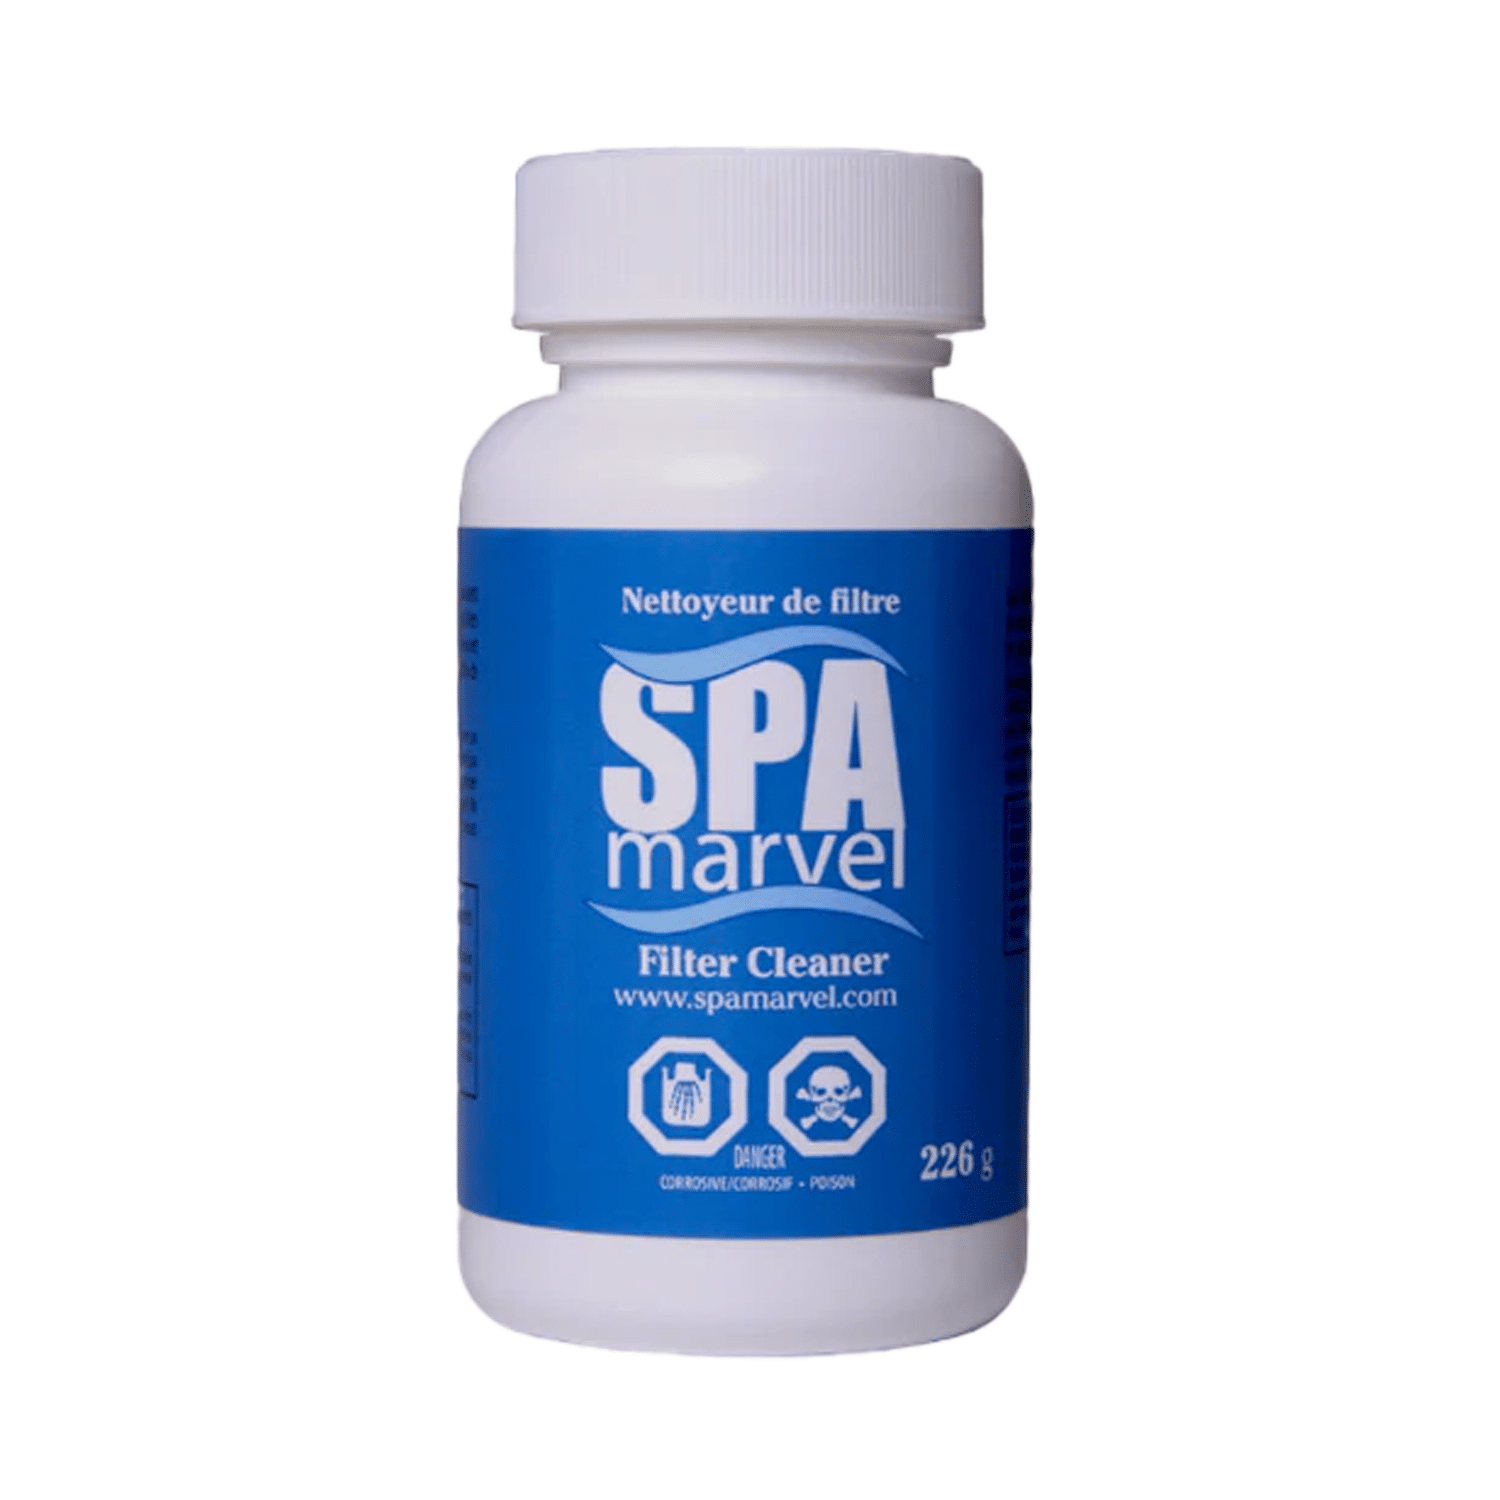
A dedicated cartridge-cleaning option for oils and debris trapped deeper in the filter media.
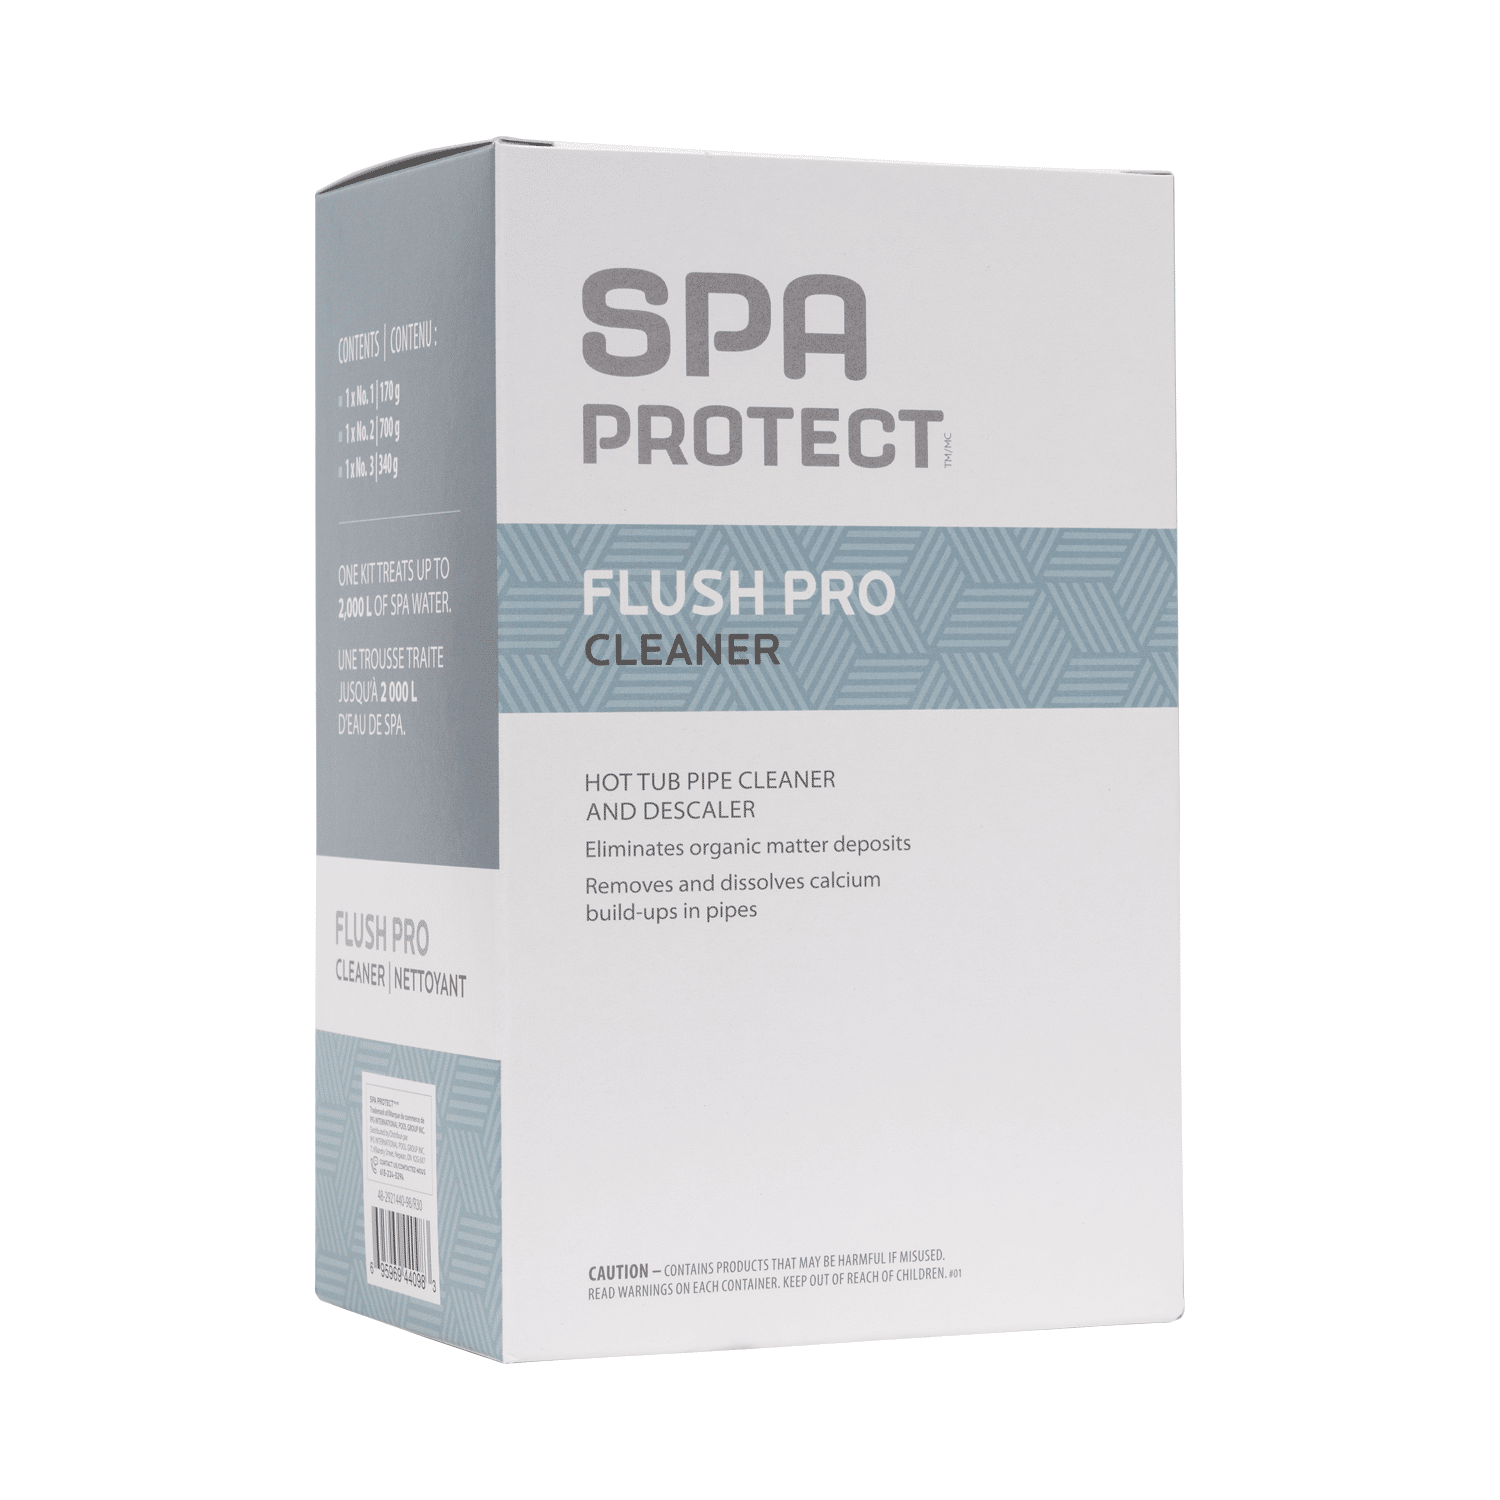
An alternative plumbing-cleaning route before draining. Select one compatible purge and follow its label—do not combine purges.
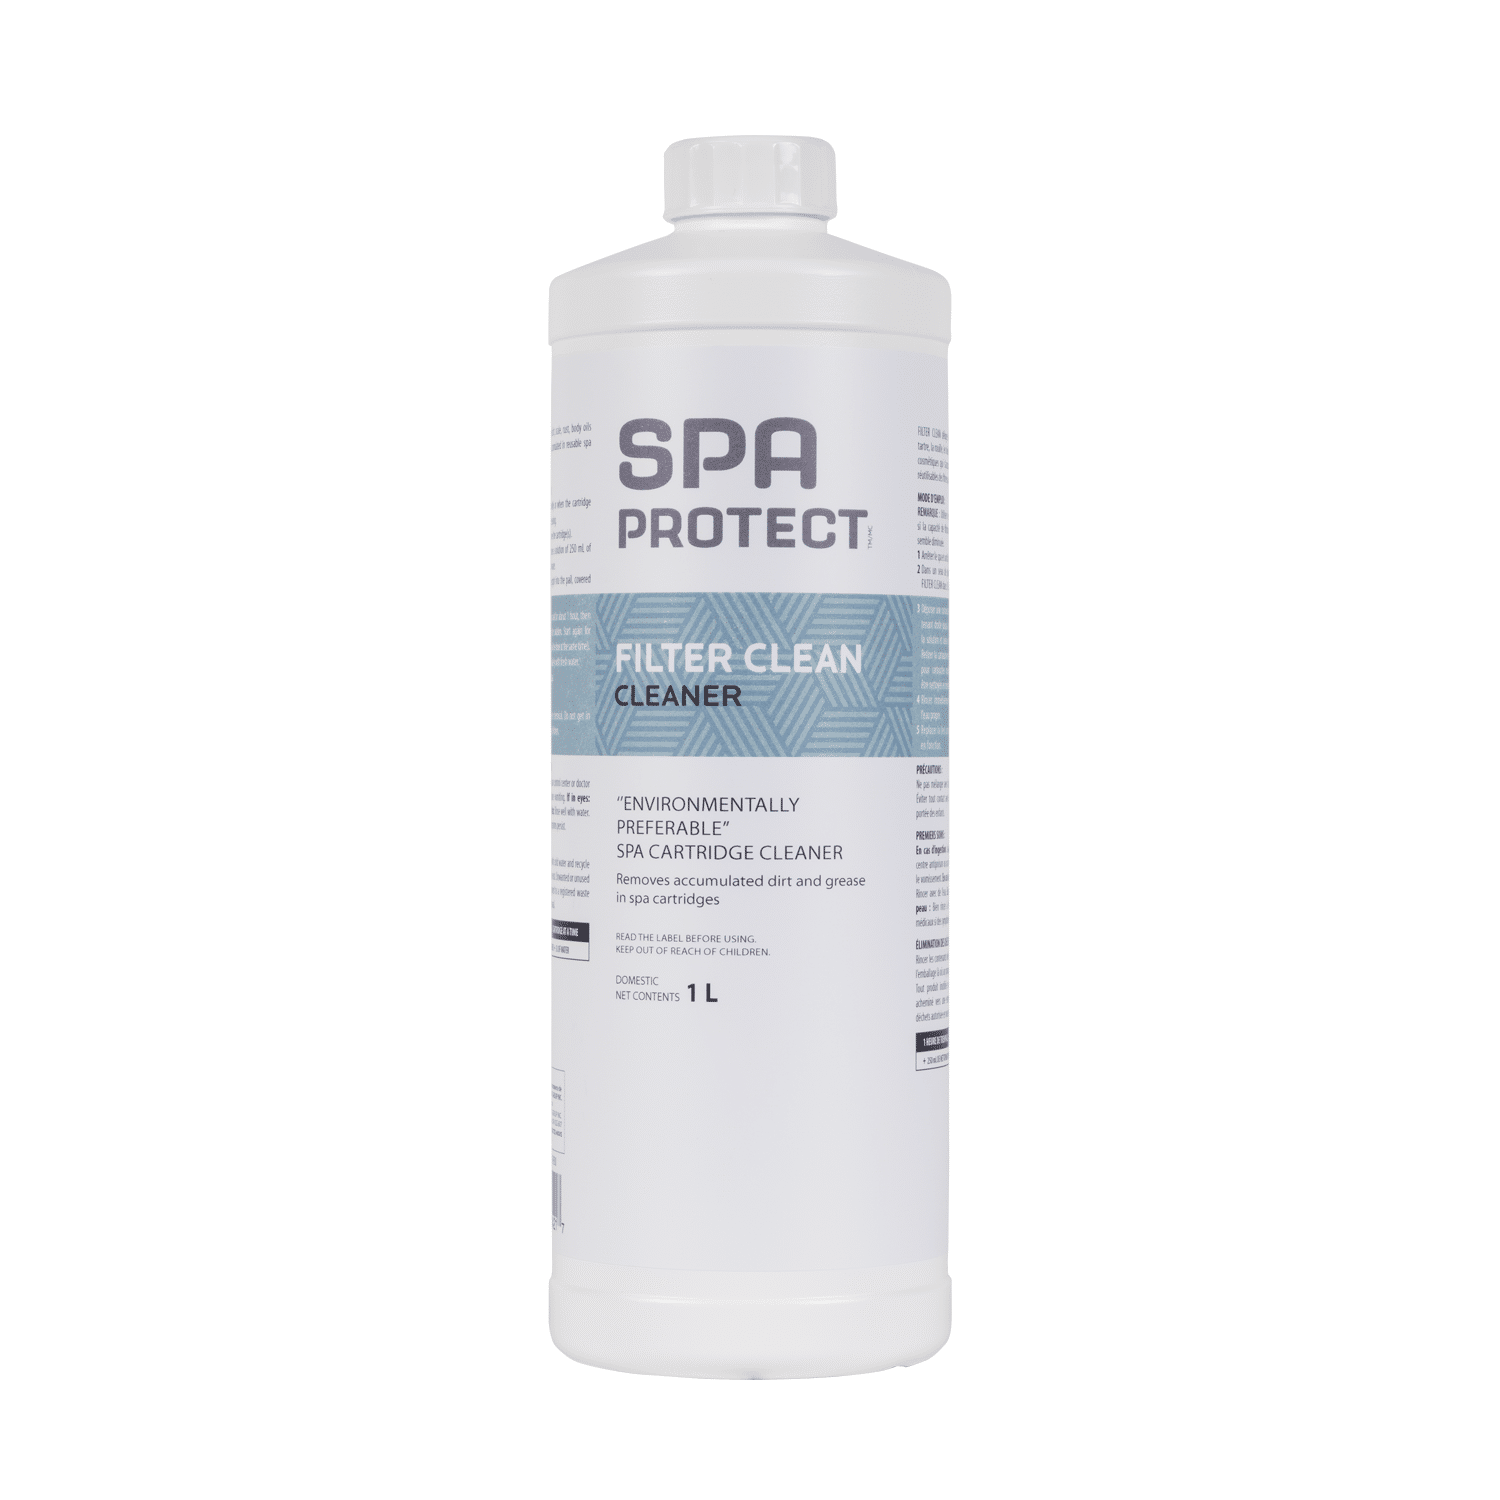
A liquid cleaning option for reusable spa filter cartridges. Use the soak and rinse directions on the product label.
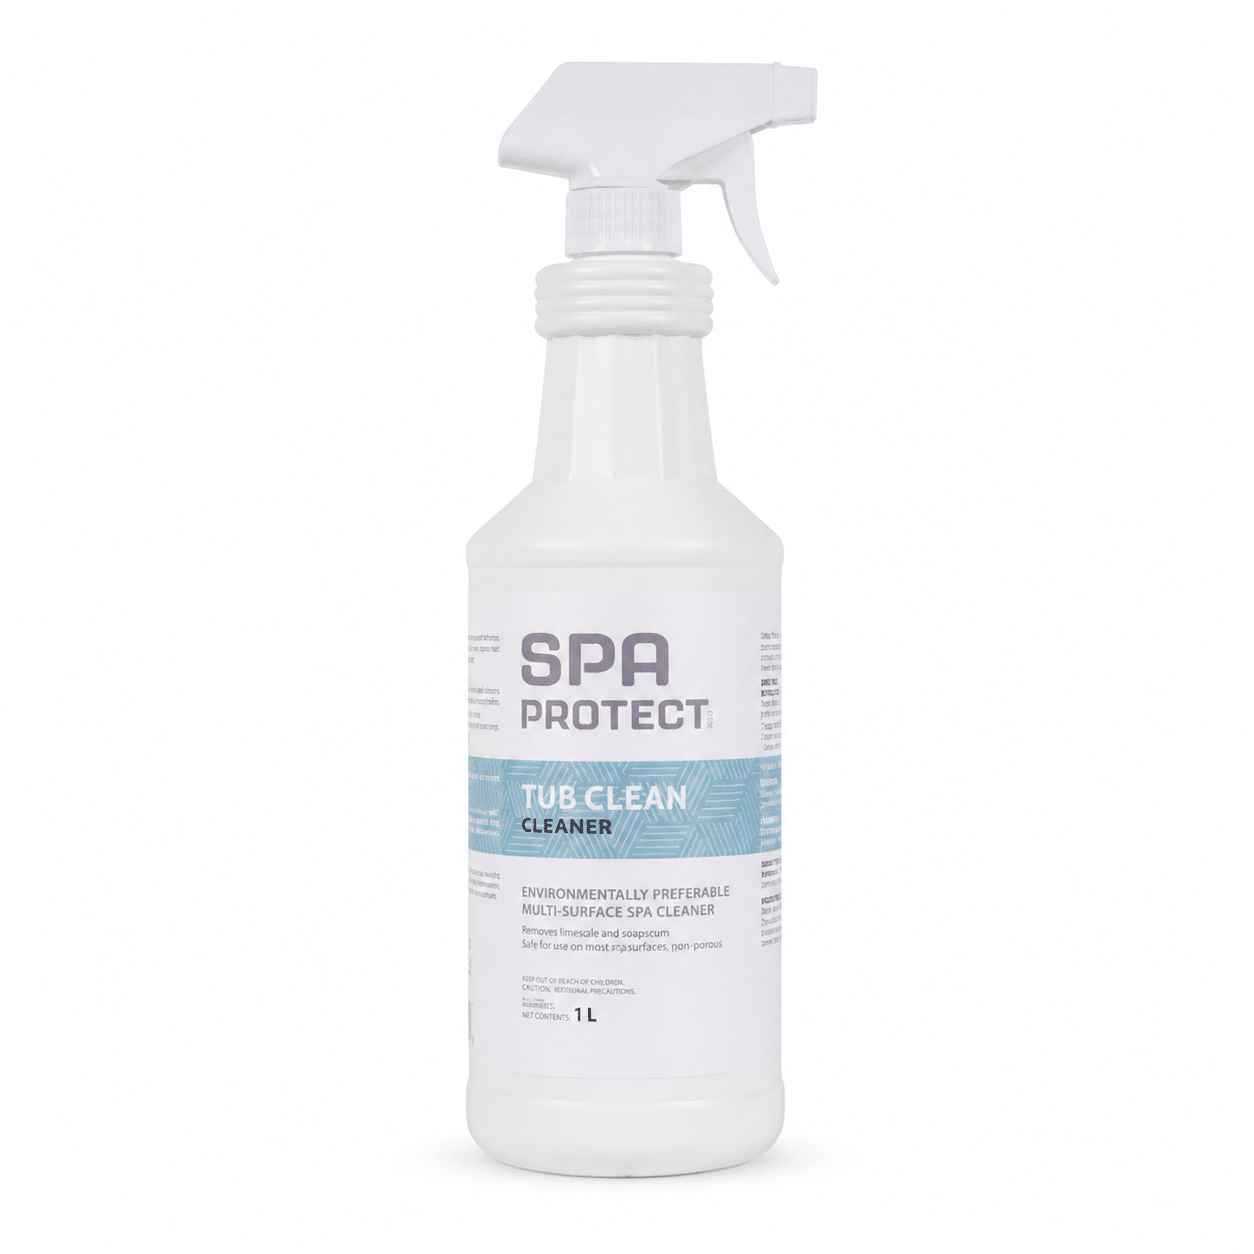
A spa-surface cleaner for the empty shell. Apply only as directed and rinse away residue before refilling.
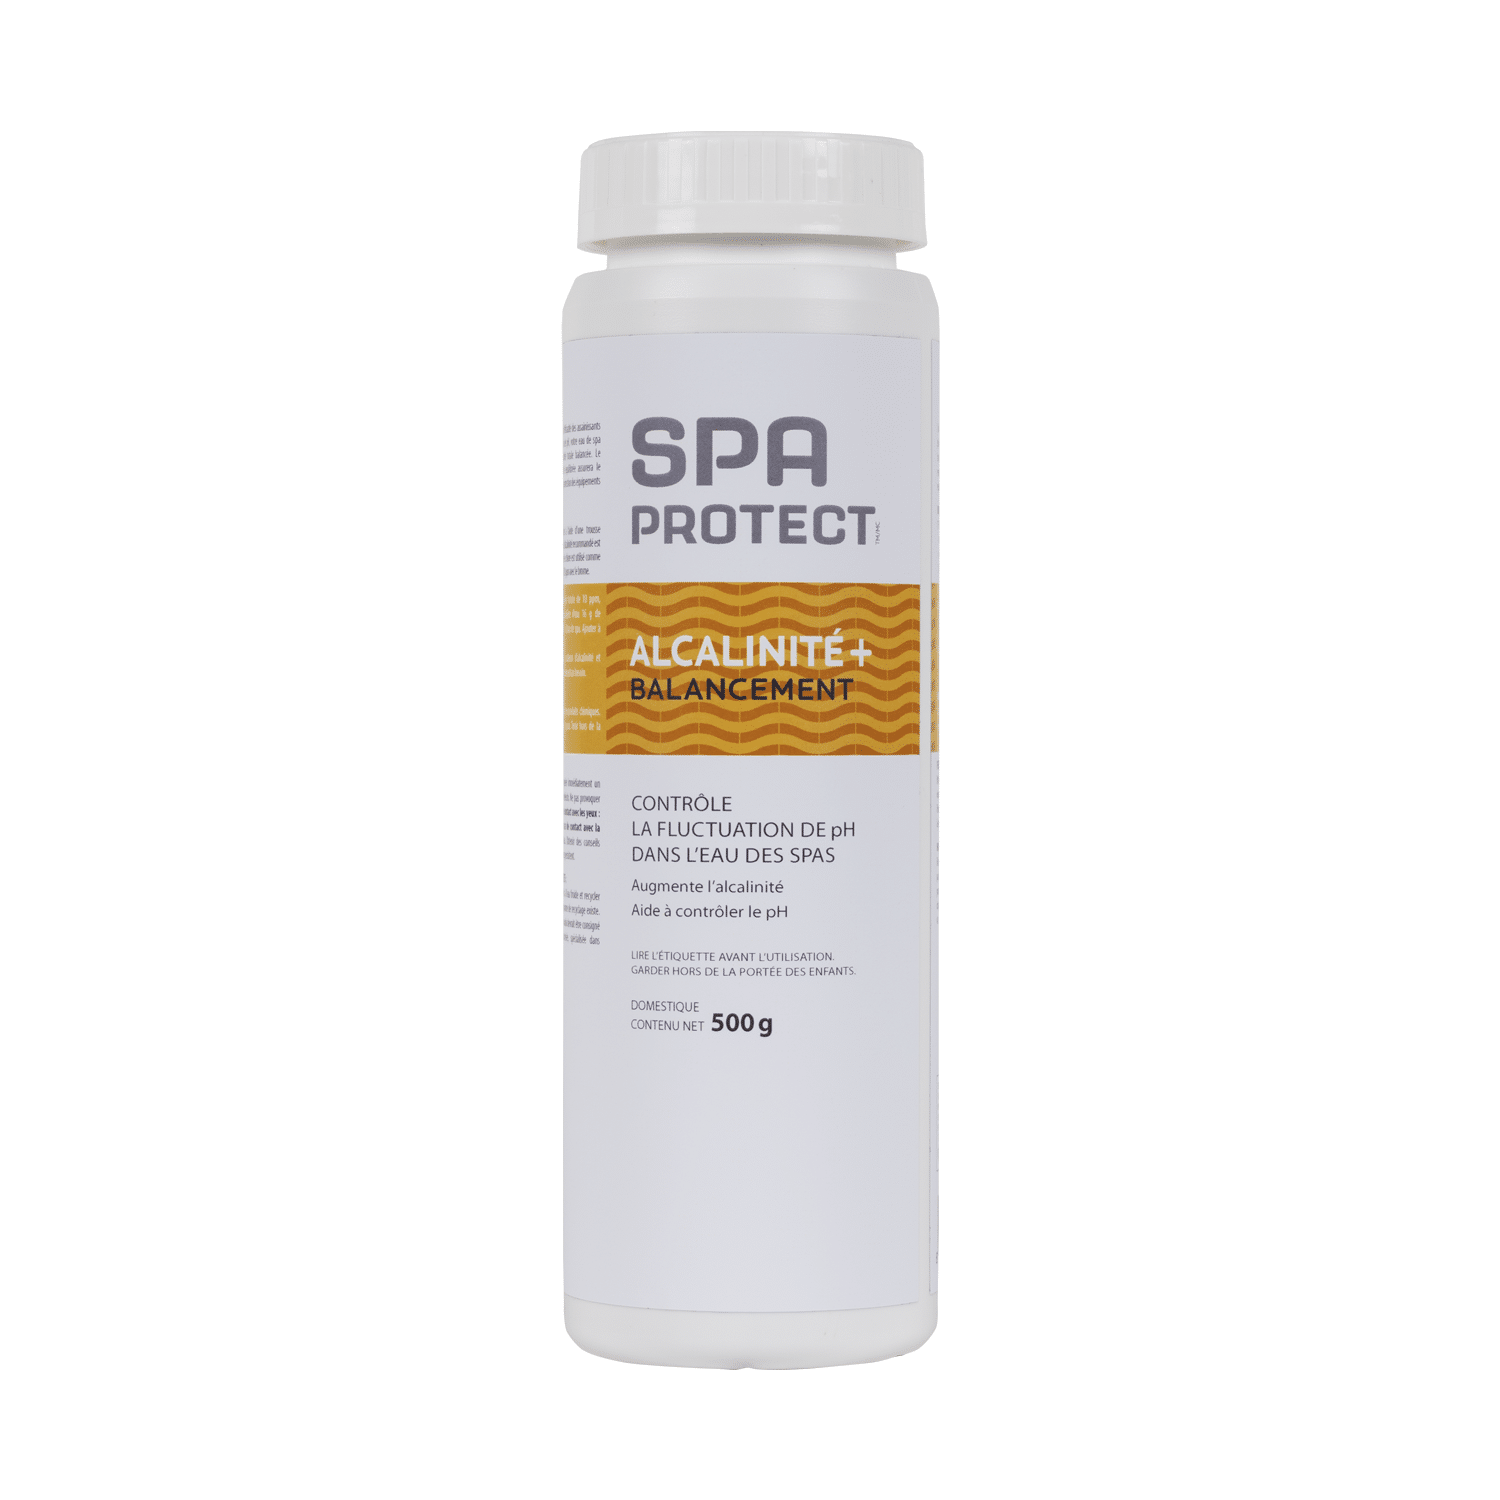
Raises total alkalinity when fresh-water test results show it is below the target for the selected care system.
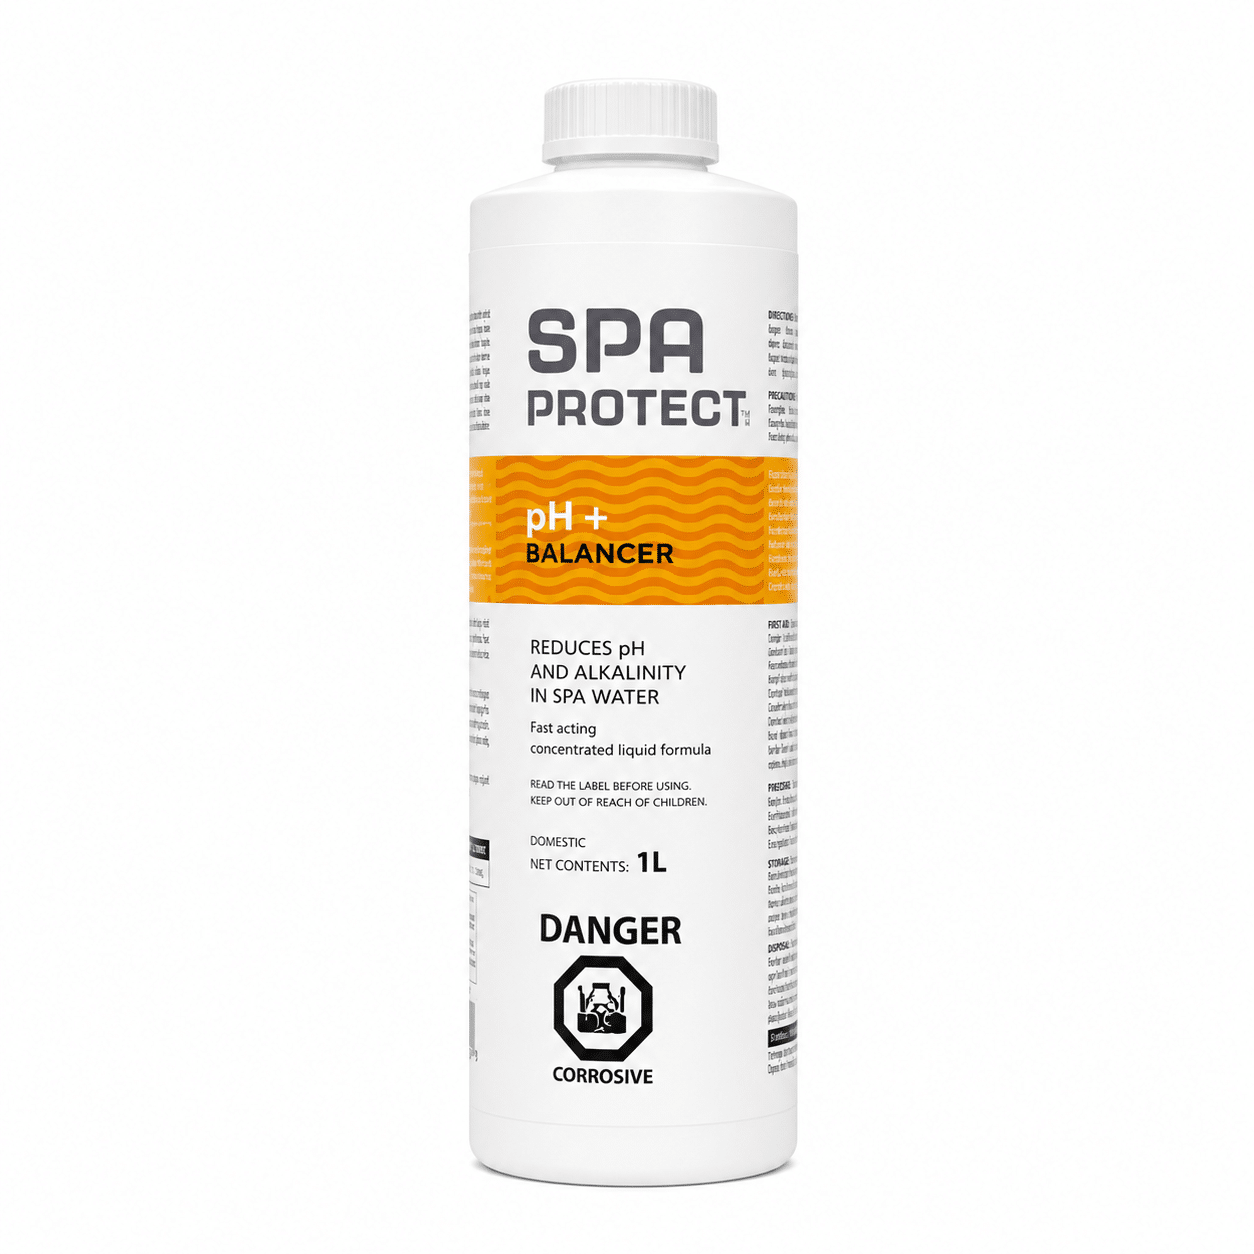
Lowers pH when a current test shows that the fresh fill is above the range specified for your spa system.

Raises pH when the measured fresh-fill value is below the range specified for your spa system.
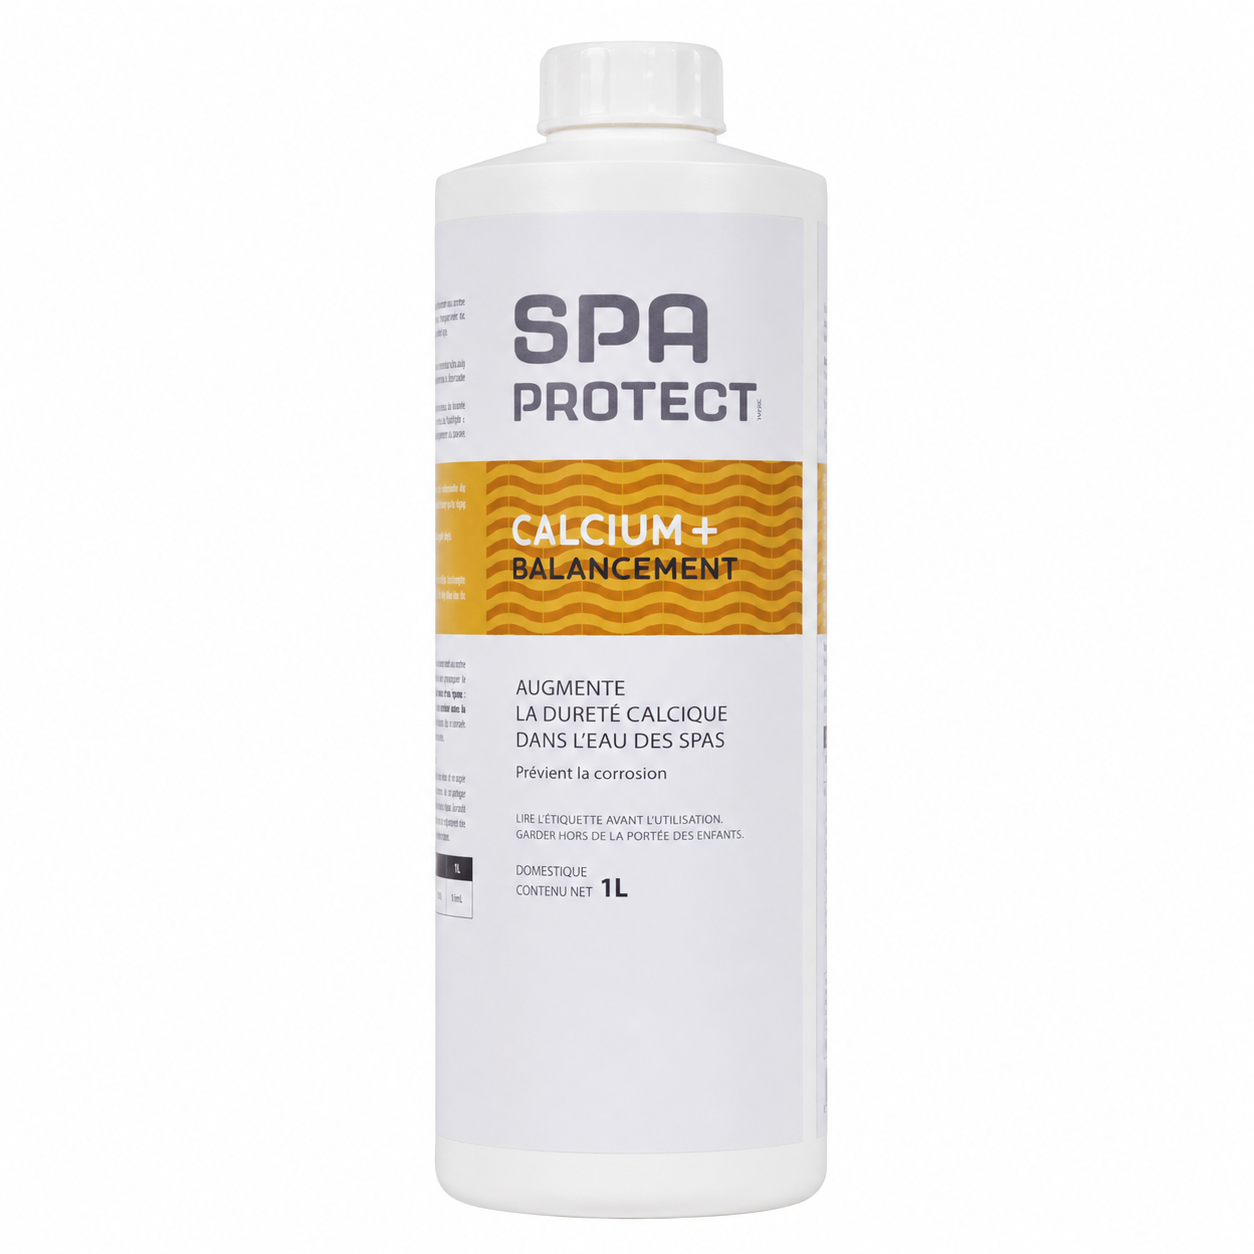
Raises calcium hardness when the source-water result is below the range recommended for the hot tub.
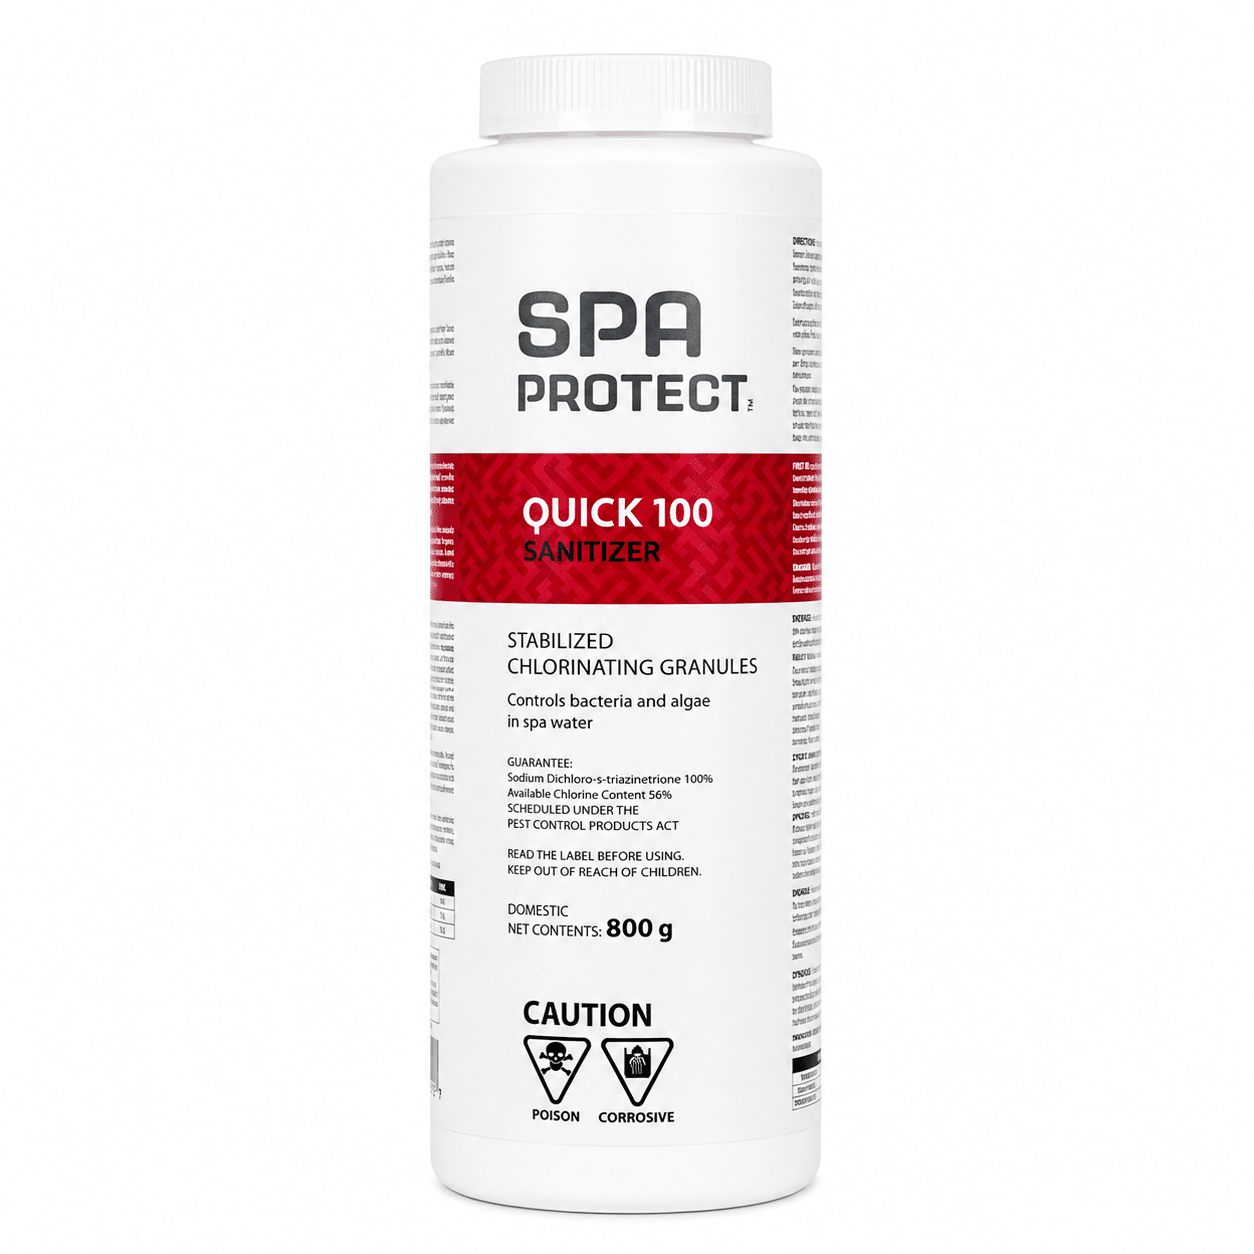
A chlorine-based spa sanitizer. Use only for the appropriate system and follow the registered product label.
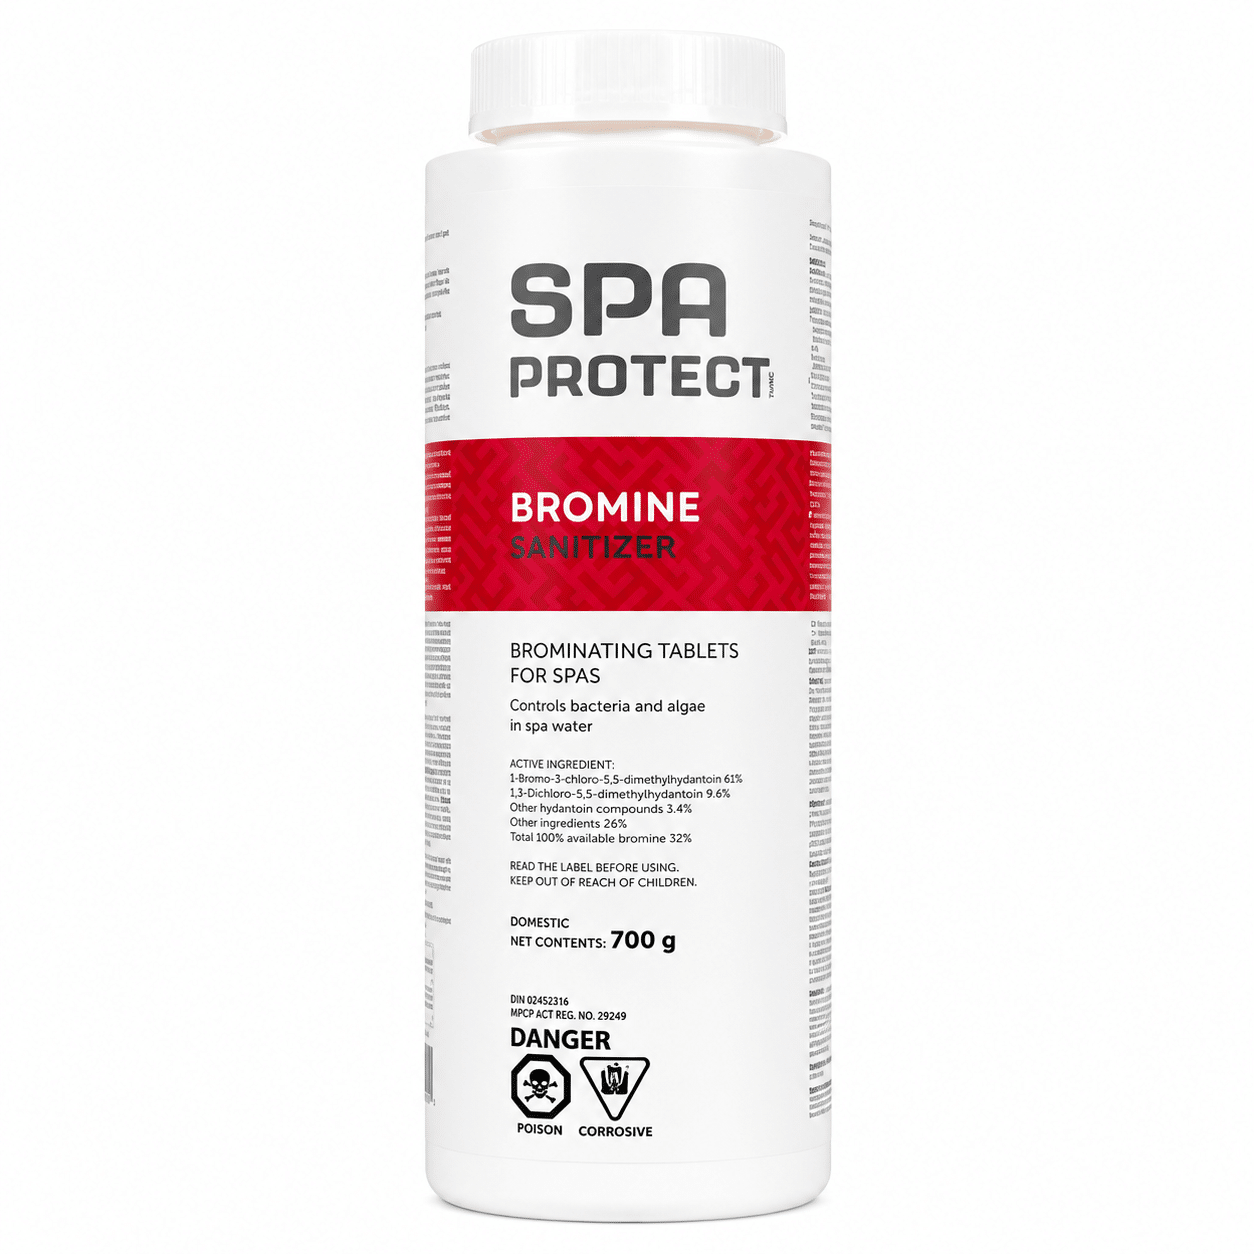
A slow-dissolving sanitizer for compatible bromine systems and approved feeding devices.
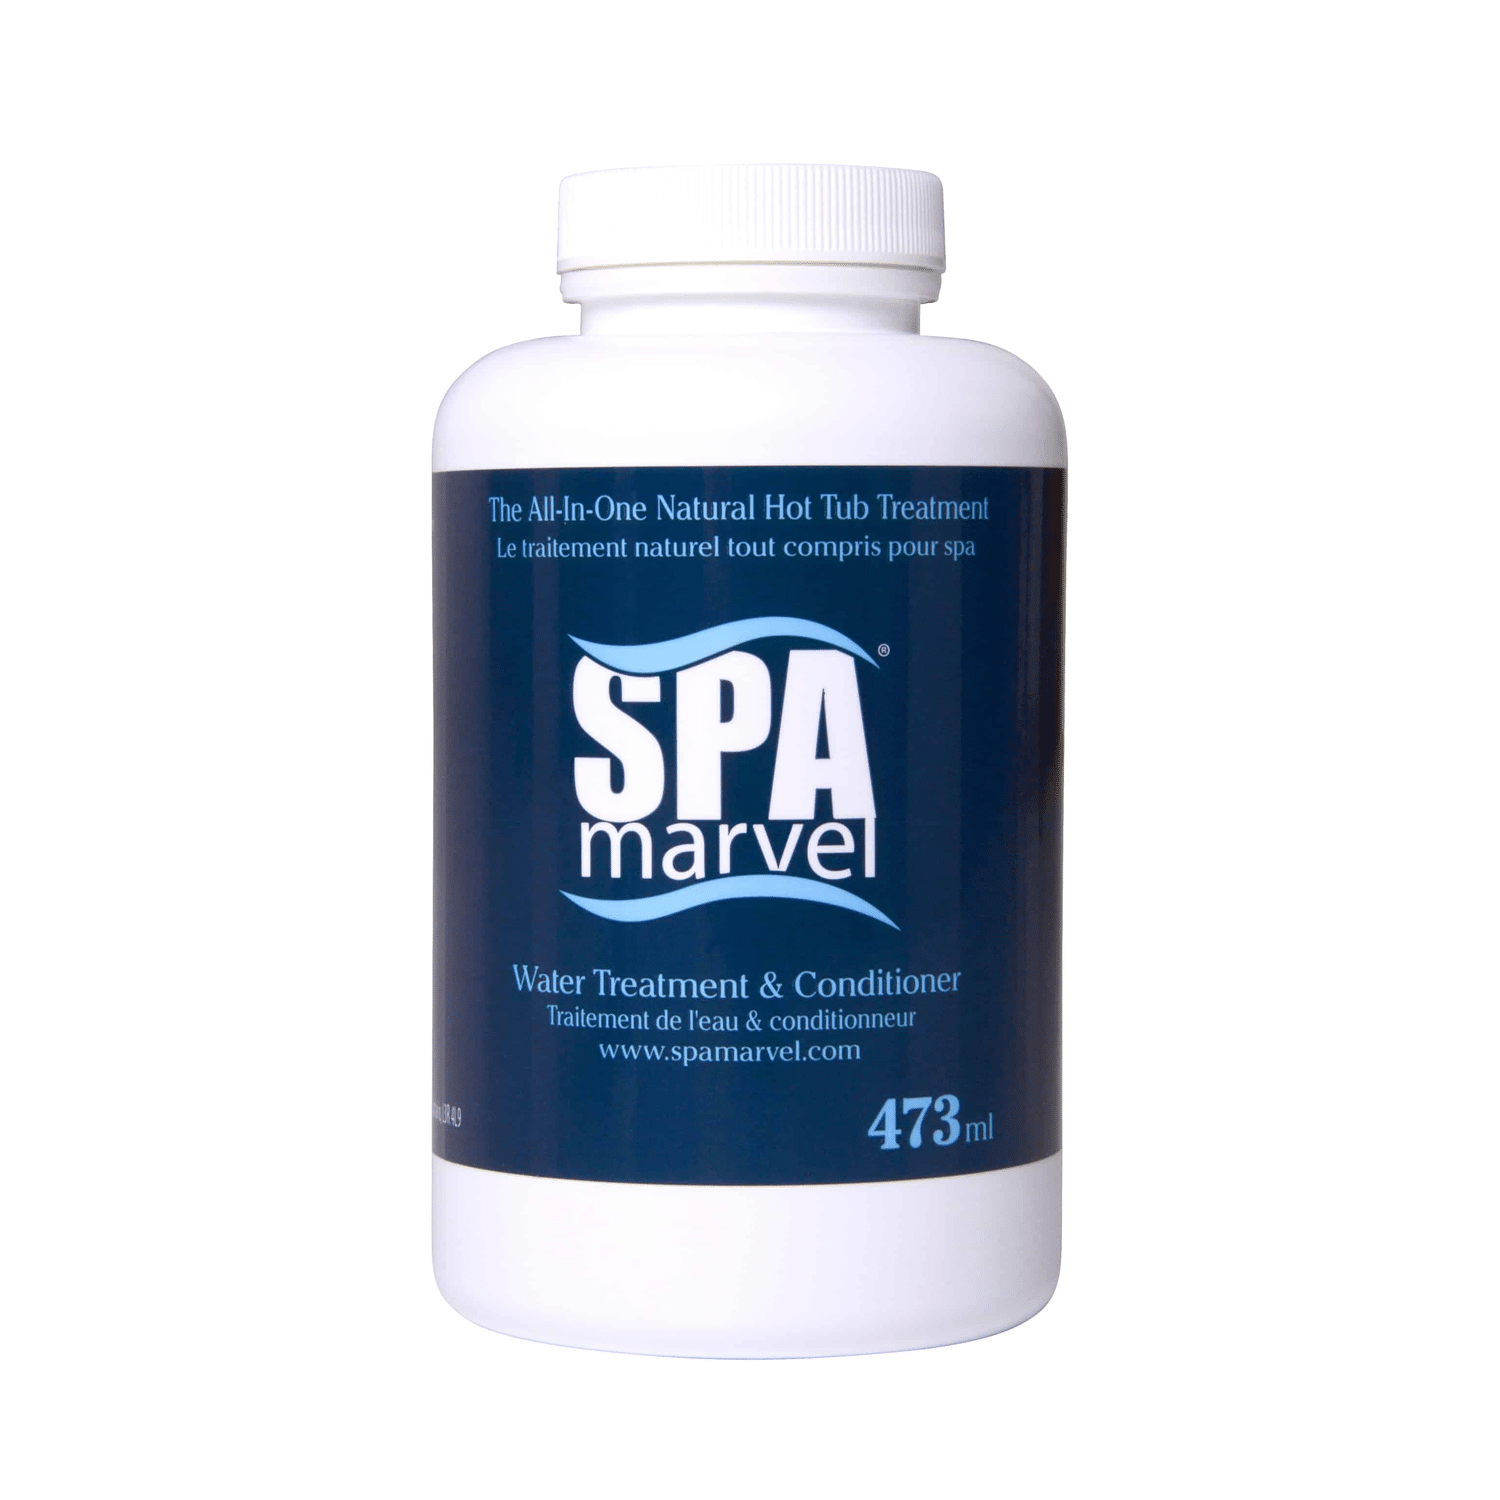
A conditioning product for owners already following the Spa Marvel system. It does not replace required sanitizer.

An oxidizing treatment option. Confirm compatibility, timing and bathing wait instructions on the label.
Local Water-Care Help
If fresh-fill results do not make sense, record the spa volume, sanitizer system, source-water readings and products already added. Custom LeisureScapes can help hot-tub owners in London, Stratford and Southwestern Ontario choose the correct next step without piling incompatible products into the water.
Hot-Tub Drain & Refill FAQ
There is no single calendar interval for every spa. Water volume, bather load, sanitizer system, filtration, source water and the manufacturer’s directions all matter. Persistent balancing difficulty, buildup or water that no longer responds normally can be signs that a water change is due. Follow the schedule for your spa and water-care program.
A plumbing purge is normally used while the existing water can still circulate through the internal lines, before draining. The exact amount and circulation time must come from the selected product’s label. Do not combine two different purges.
Draining during freezing weather can expose plumbing and equipment to rapid freeze damage. Unless you are immediately completing an approved refill under safe conditions—or professionally winterizing the complete system—contact qualified hot-tub service before draining.
Many manufacturers recommend filling through the filter compartment or another designated fill point to reduce trapped air, but not every spa uses the same arrangement. Follow the instructions for your exact brand and model.
Start with a complete fresh-water test. Many programs address total alkalinity before pH and then calcium hardness as required, followed by the correct sanitizer, but the proper sequence and target ranges depend on the spa, source water and products. Follow the manual and labels, and retest between adjustments.
Use the spa only after circulation is normal, the water has reached a comfortable temperature, and test results meet the acceptable ranges for the selected sanitizer system. Observe every label’s circulation and bathing wait instructions; appearance alone does not confirm that water is ready.
Turn the affected pump off rather than repeatedly running it dry. Recheck the fill level and the manufacturer’s approved priming procedure. If normal flow does not return promptly—or the spa reports a persistent flow error—request qualified service.
 Optimized by Seraphinite Accelerator